
SIMULATOR / CLICKER THUMBNAIL IDEAS
Simulator / Clicker Roblox Thumbnail Ideas
Make the next upgrade feel worth clicking for.
Use clear reward, unlock, and transformation directions so a thumbnail can communicate the game loop in one fast glance.
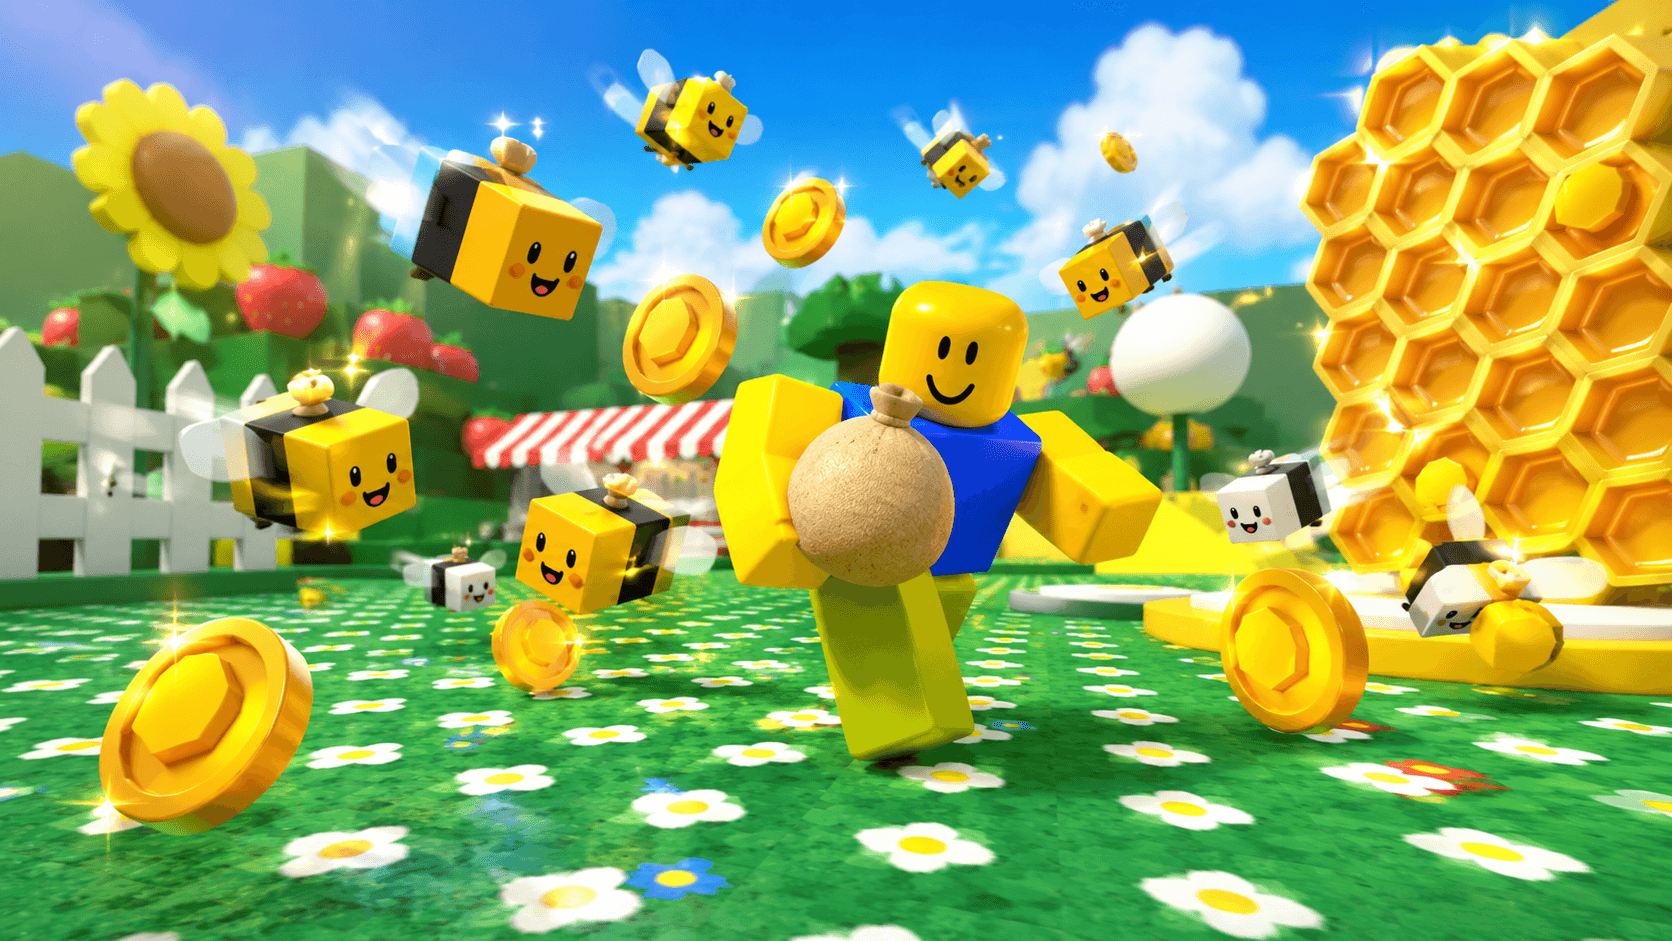
ONE DEMO, FOUR PLANNING IDEAS
Use a clear visual promise before adding detail.
This page combines one ClickCrit demonstration image with four strategy ideas. Generate from your own permitted reference to create a complete four-image Thumbnail Pack.
- Show the reward, pet, or destination large enough to read at a small thumbnail size.
- Use environment scale and character reaction instead of generated number counters.
- Contrast a familiar starting point with one obvious next upgrade or unlock.
FOUR DEFAULT STRATEGIES
Compare different thumbnail jobs, not minor variations.
Each strategy makes a different part of the Simulator / Clicker experience the reason to look closer.
ANGLE 1
Before / After
Contrast the early game with the player’s most dramatic next state.
ANGLE 2
Rare Reward
Put a sought-after pet, drop, or item at the center of the promise.
ANGLE 3
Unlock New Area
Use a familiar zone and a mysterious destination to create momentum.
ANGLE 4
Number Shock
Express a huge gain through scene scale rather than generated UI text.
TYPE-SPECIFIC FAQ
Helpful constraints before you build your brief.
How can a Simulator or Clicker thumbnail show progression without UI?
Use a rare pet, larger environment, new zone, or changed character state as the visible proof of growth. This stays readable when UI text would be too small.
Which strategy should I test first for an update?
Start with Rare Reward or Unlock New Area when the update has one distinctive asset. Use Before / After when the player’s transformation is the clearest story.
Ready to make this direction specific to your game?
Start with Simulator / Clicker preselected, then add your own campaign context and permitted private reference.
Create a Thumbnail Pack